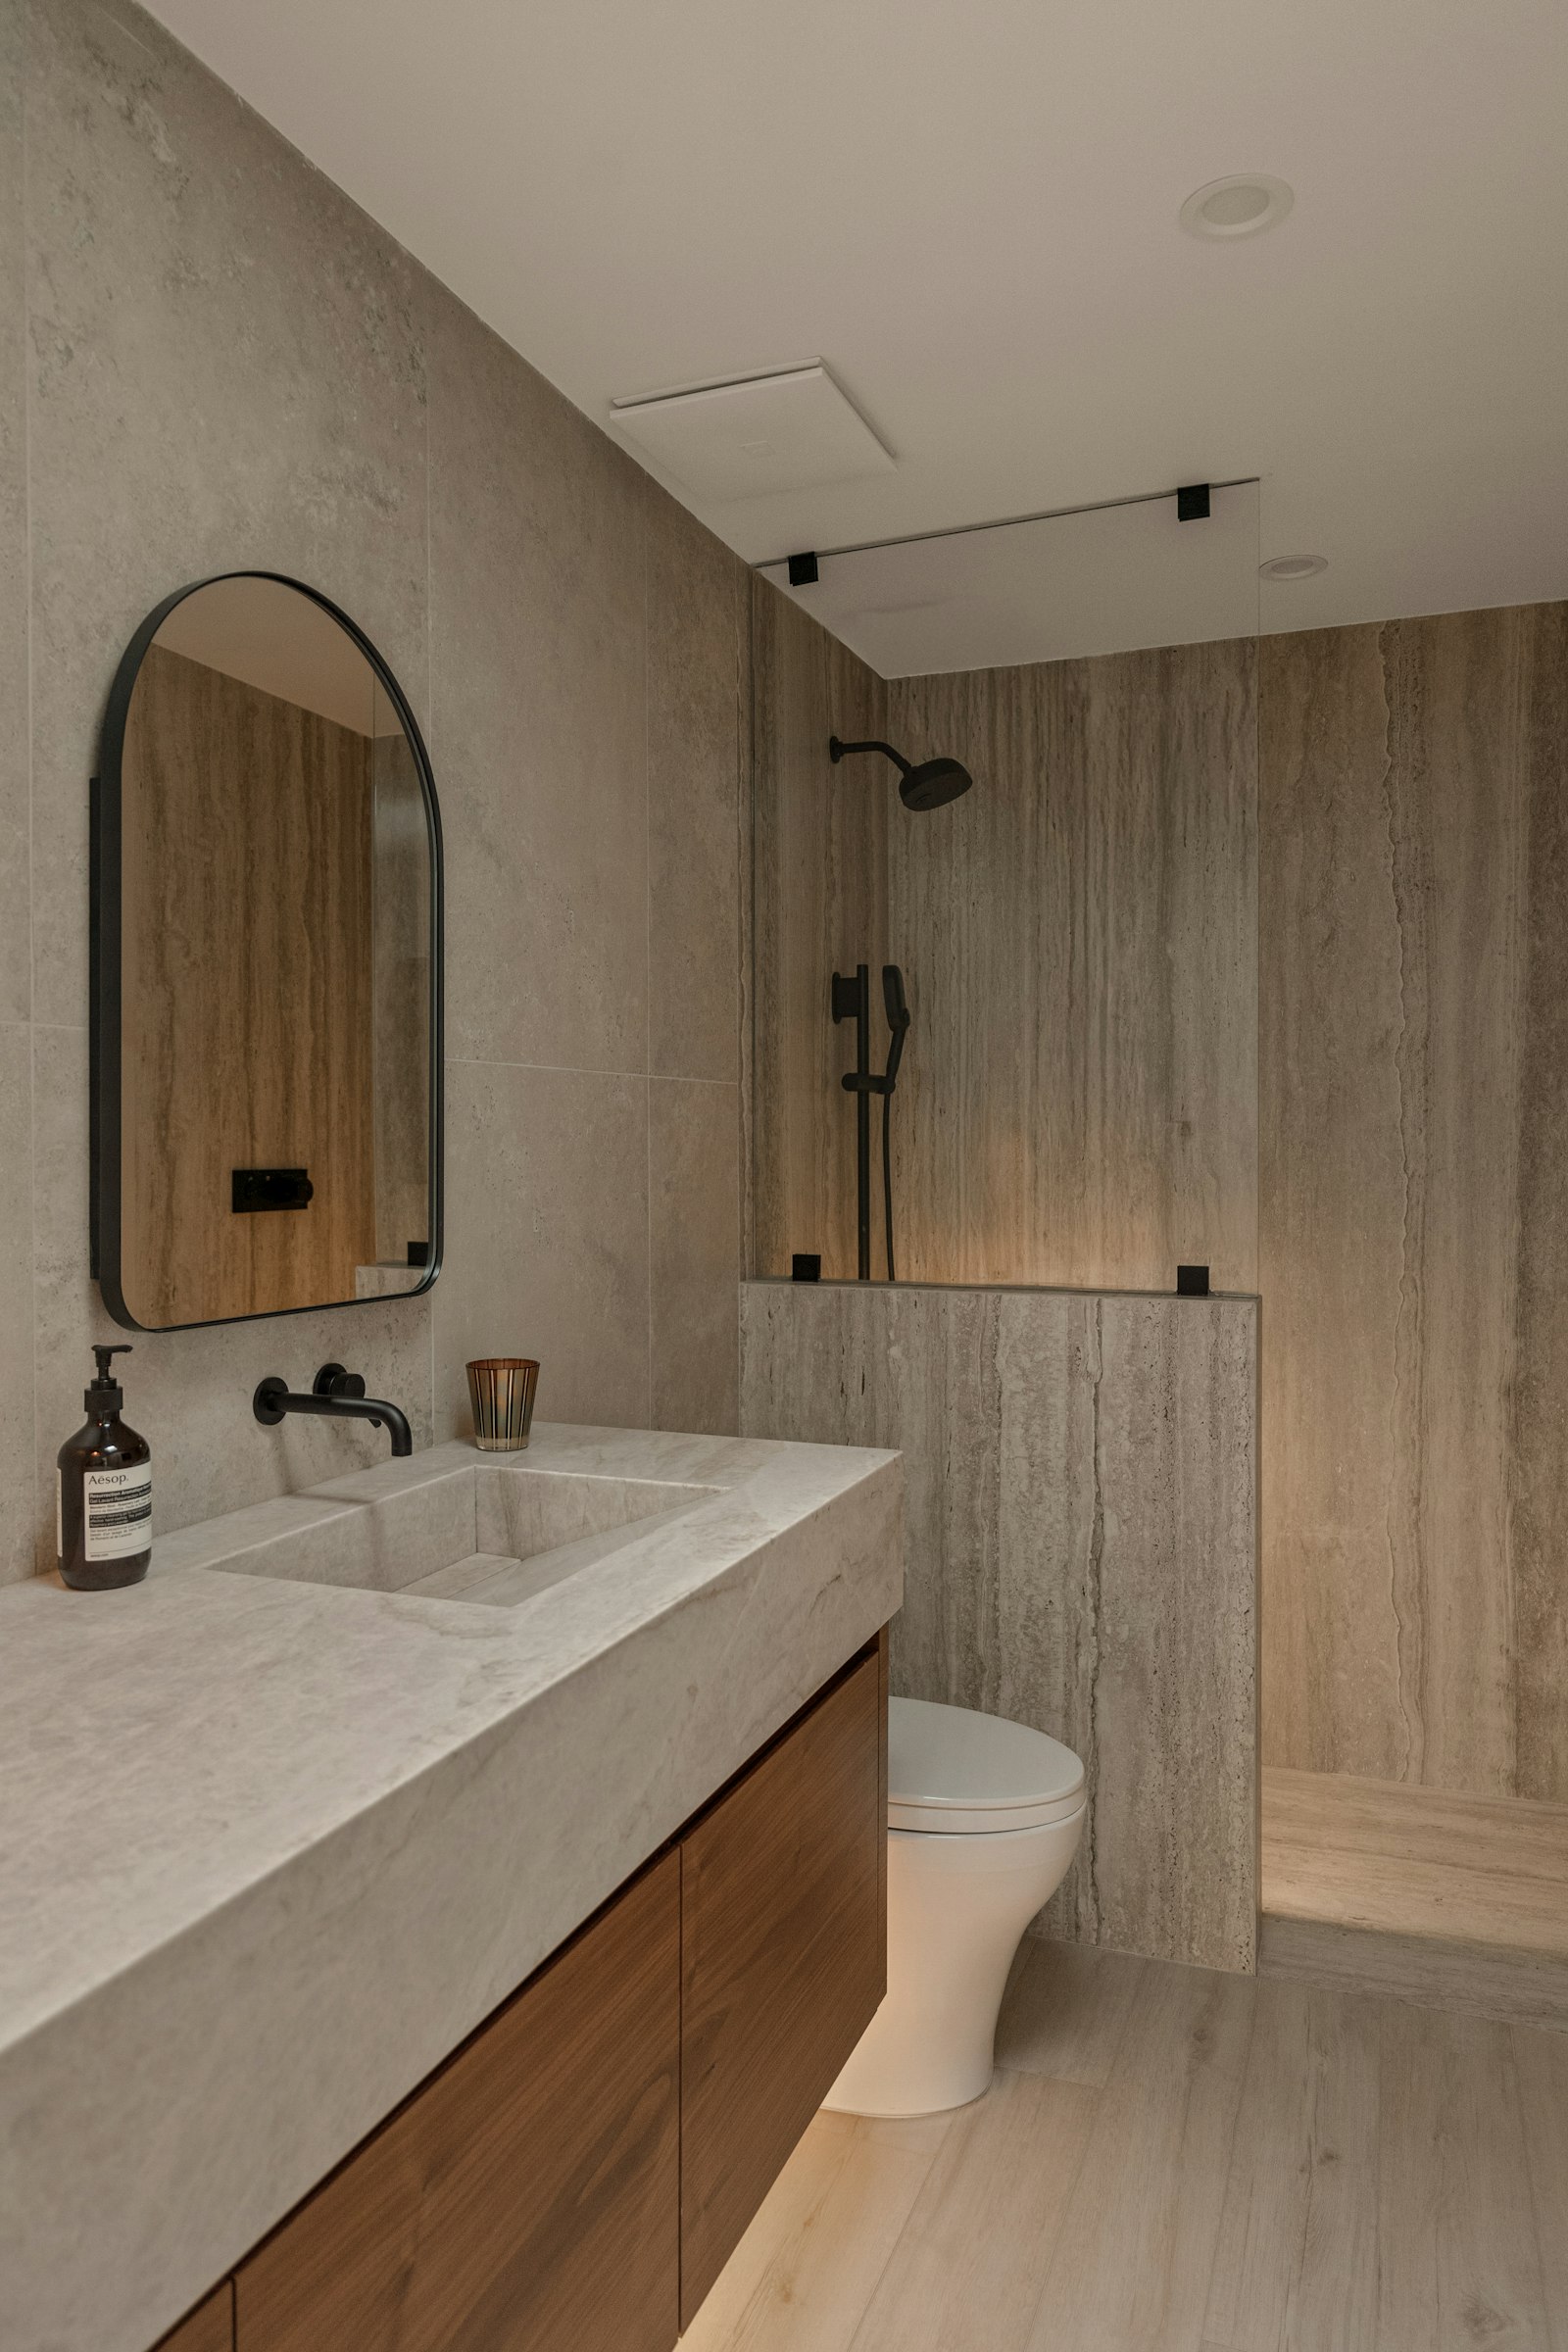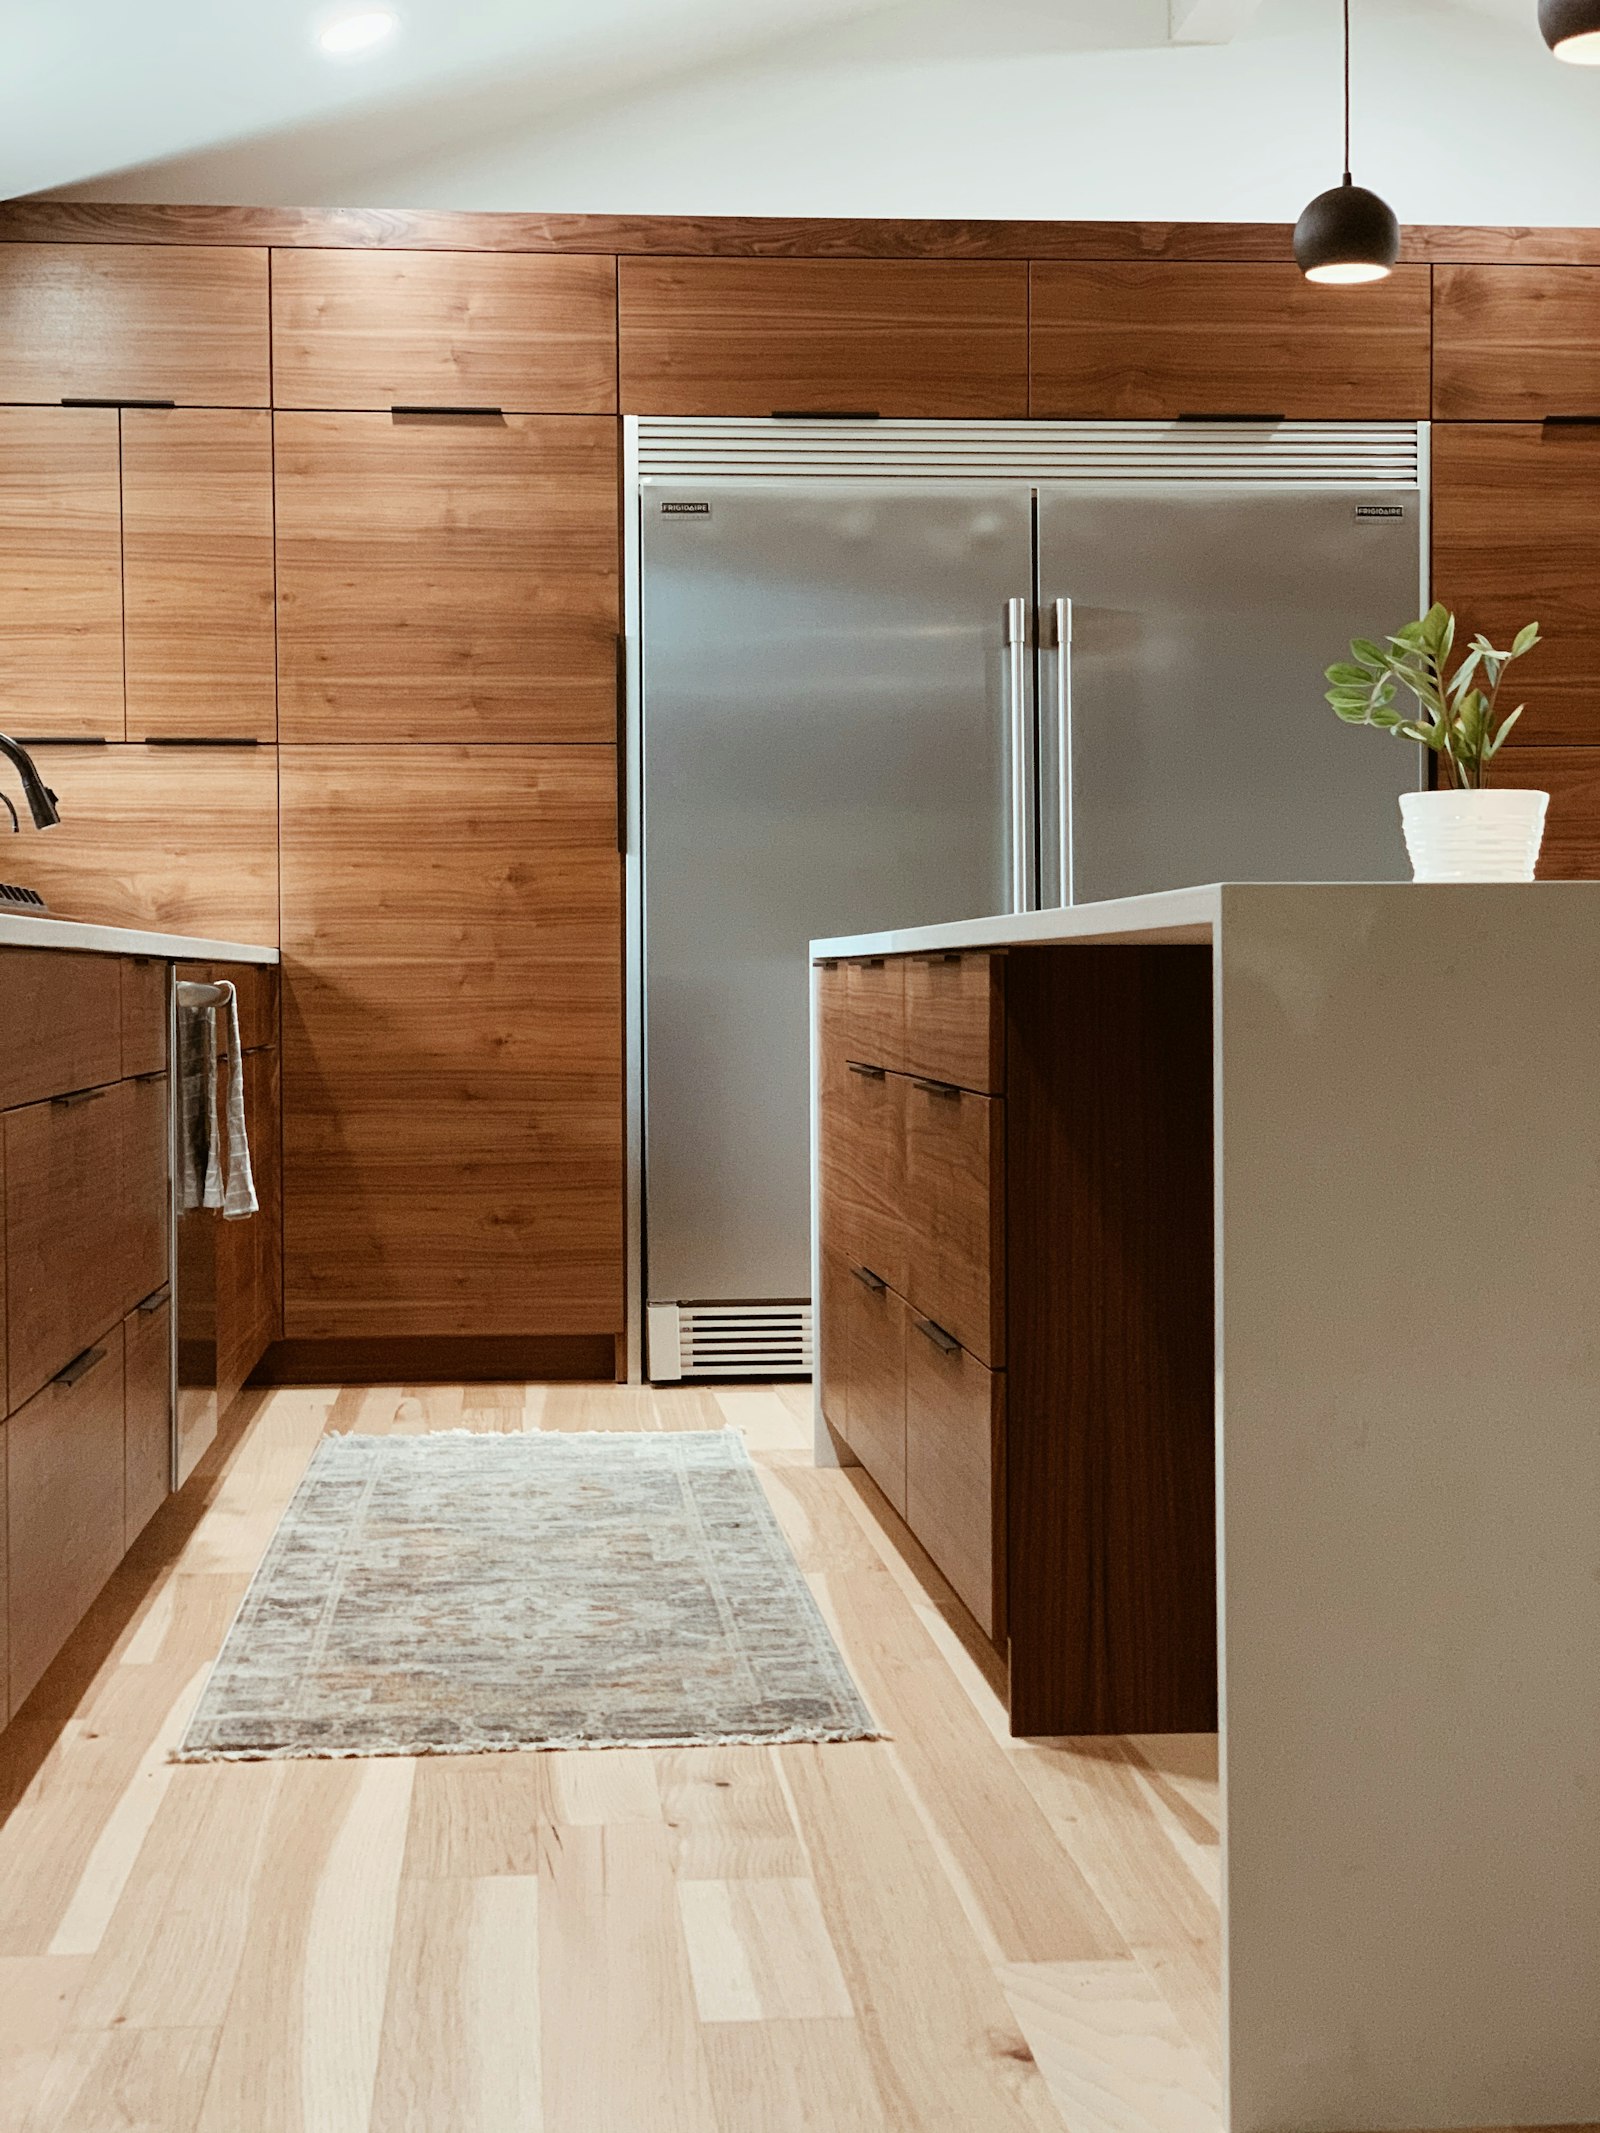
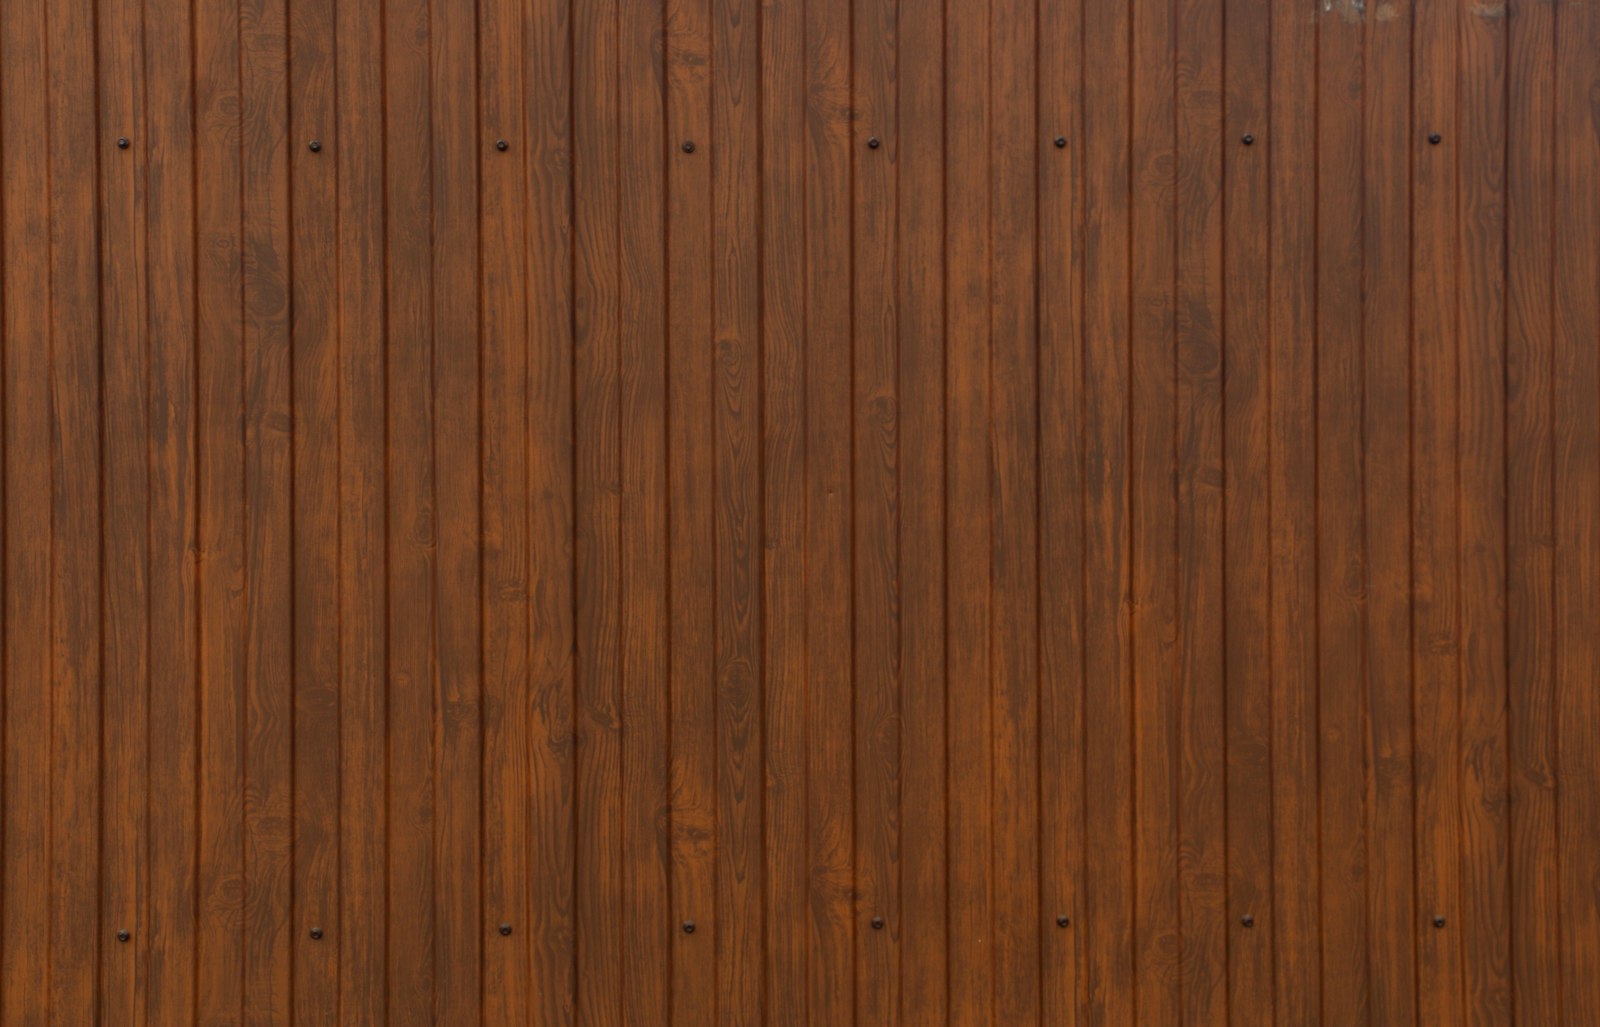
Natural teak veneer is a slice of a real tree. Its colour, figure and grain change from log to log and from leaf to leaf. That variation is the reason designers choose it — and the reason it needs planning.
Plan the wall, not the sheet
Lay out panels on elevation before ordering. Decide where joints fall, how grain should run, and which surfaces the eye will meet first. Order enough sheets from one batch to cover a whole wall or room.
Expect — and use — variation
Sheets from the same batch will still differ. Dry-lay them on site and arrange them so colour moves gradually across a surface rather than jumping between neighbouring panels.
Finish to protect
Unfinished veneer marks easily. A clear PU or lacquer brings out the grain and protects the face. Always test the finish on an offcut first; finishes deepen teak’s colour.
Mind the light
Teak darkens with exposure to light over time. Avoid leaving templates or objects on freshly finished surfaces for long periods, and expect shaded and exposed areas to age at slightly different rates.
Samples before signatures
Show clients a real sample, not a screen. Our sample kit includes teak-faced panels for exactly this conversation.