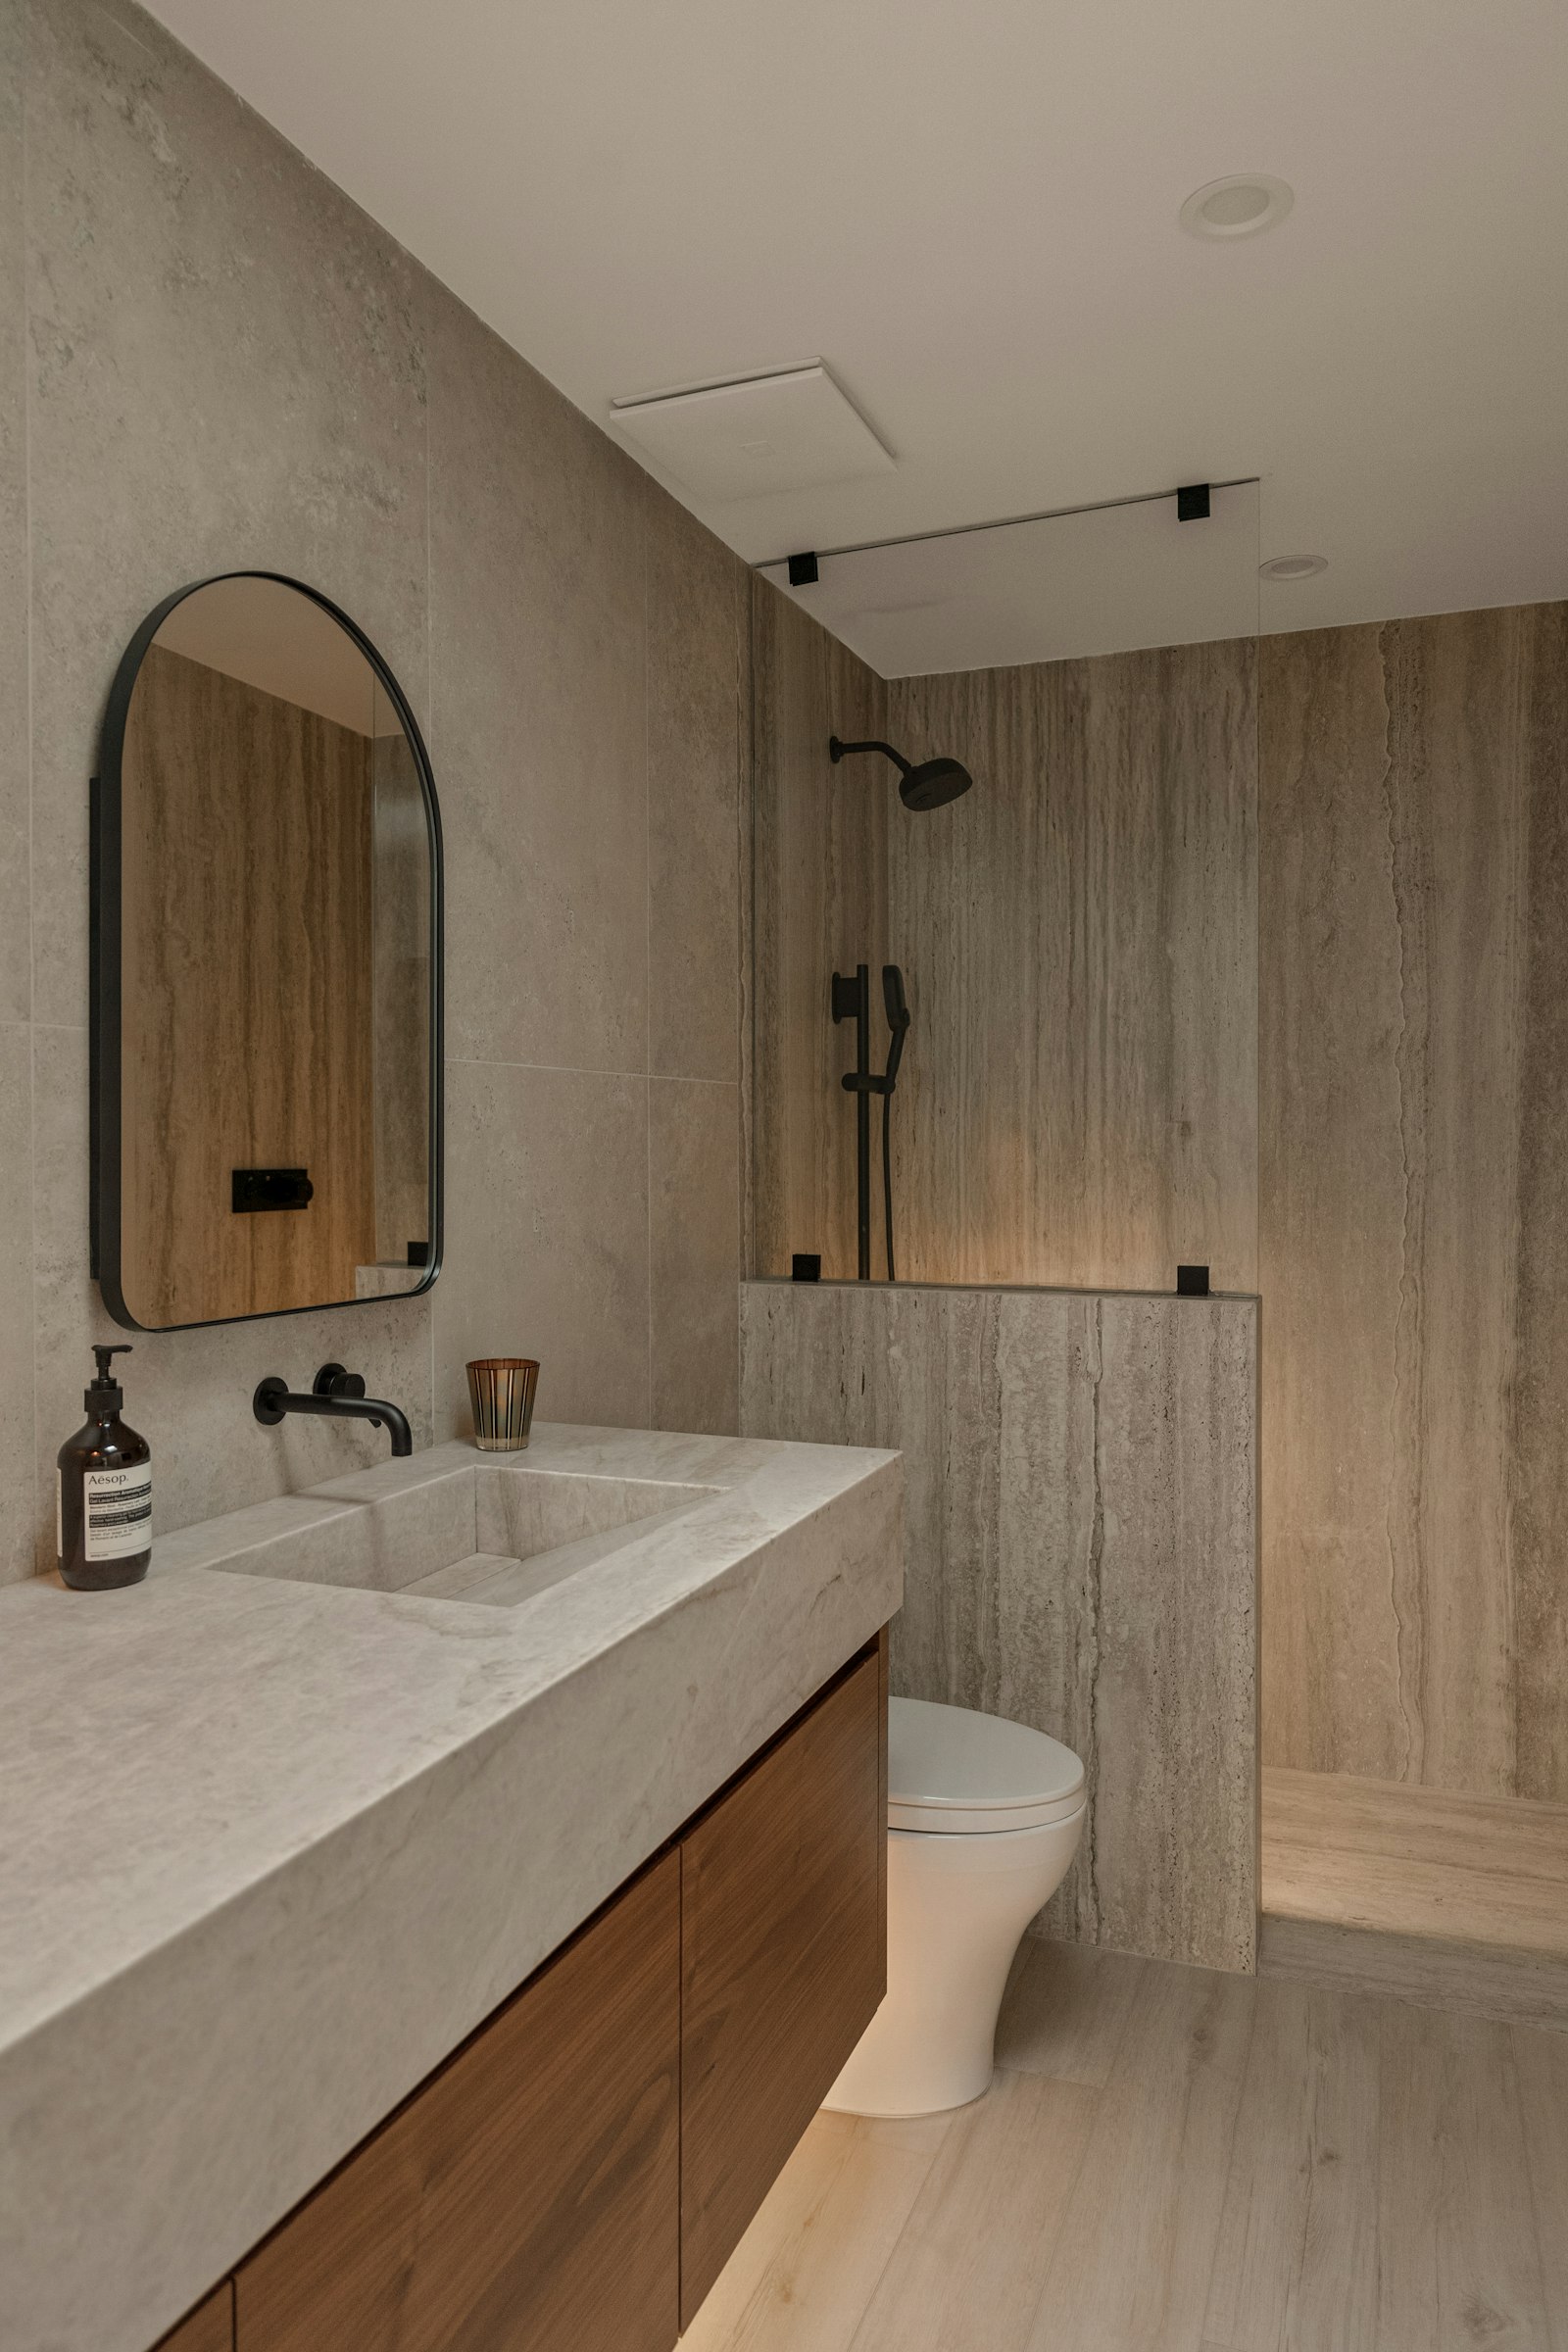
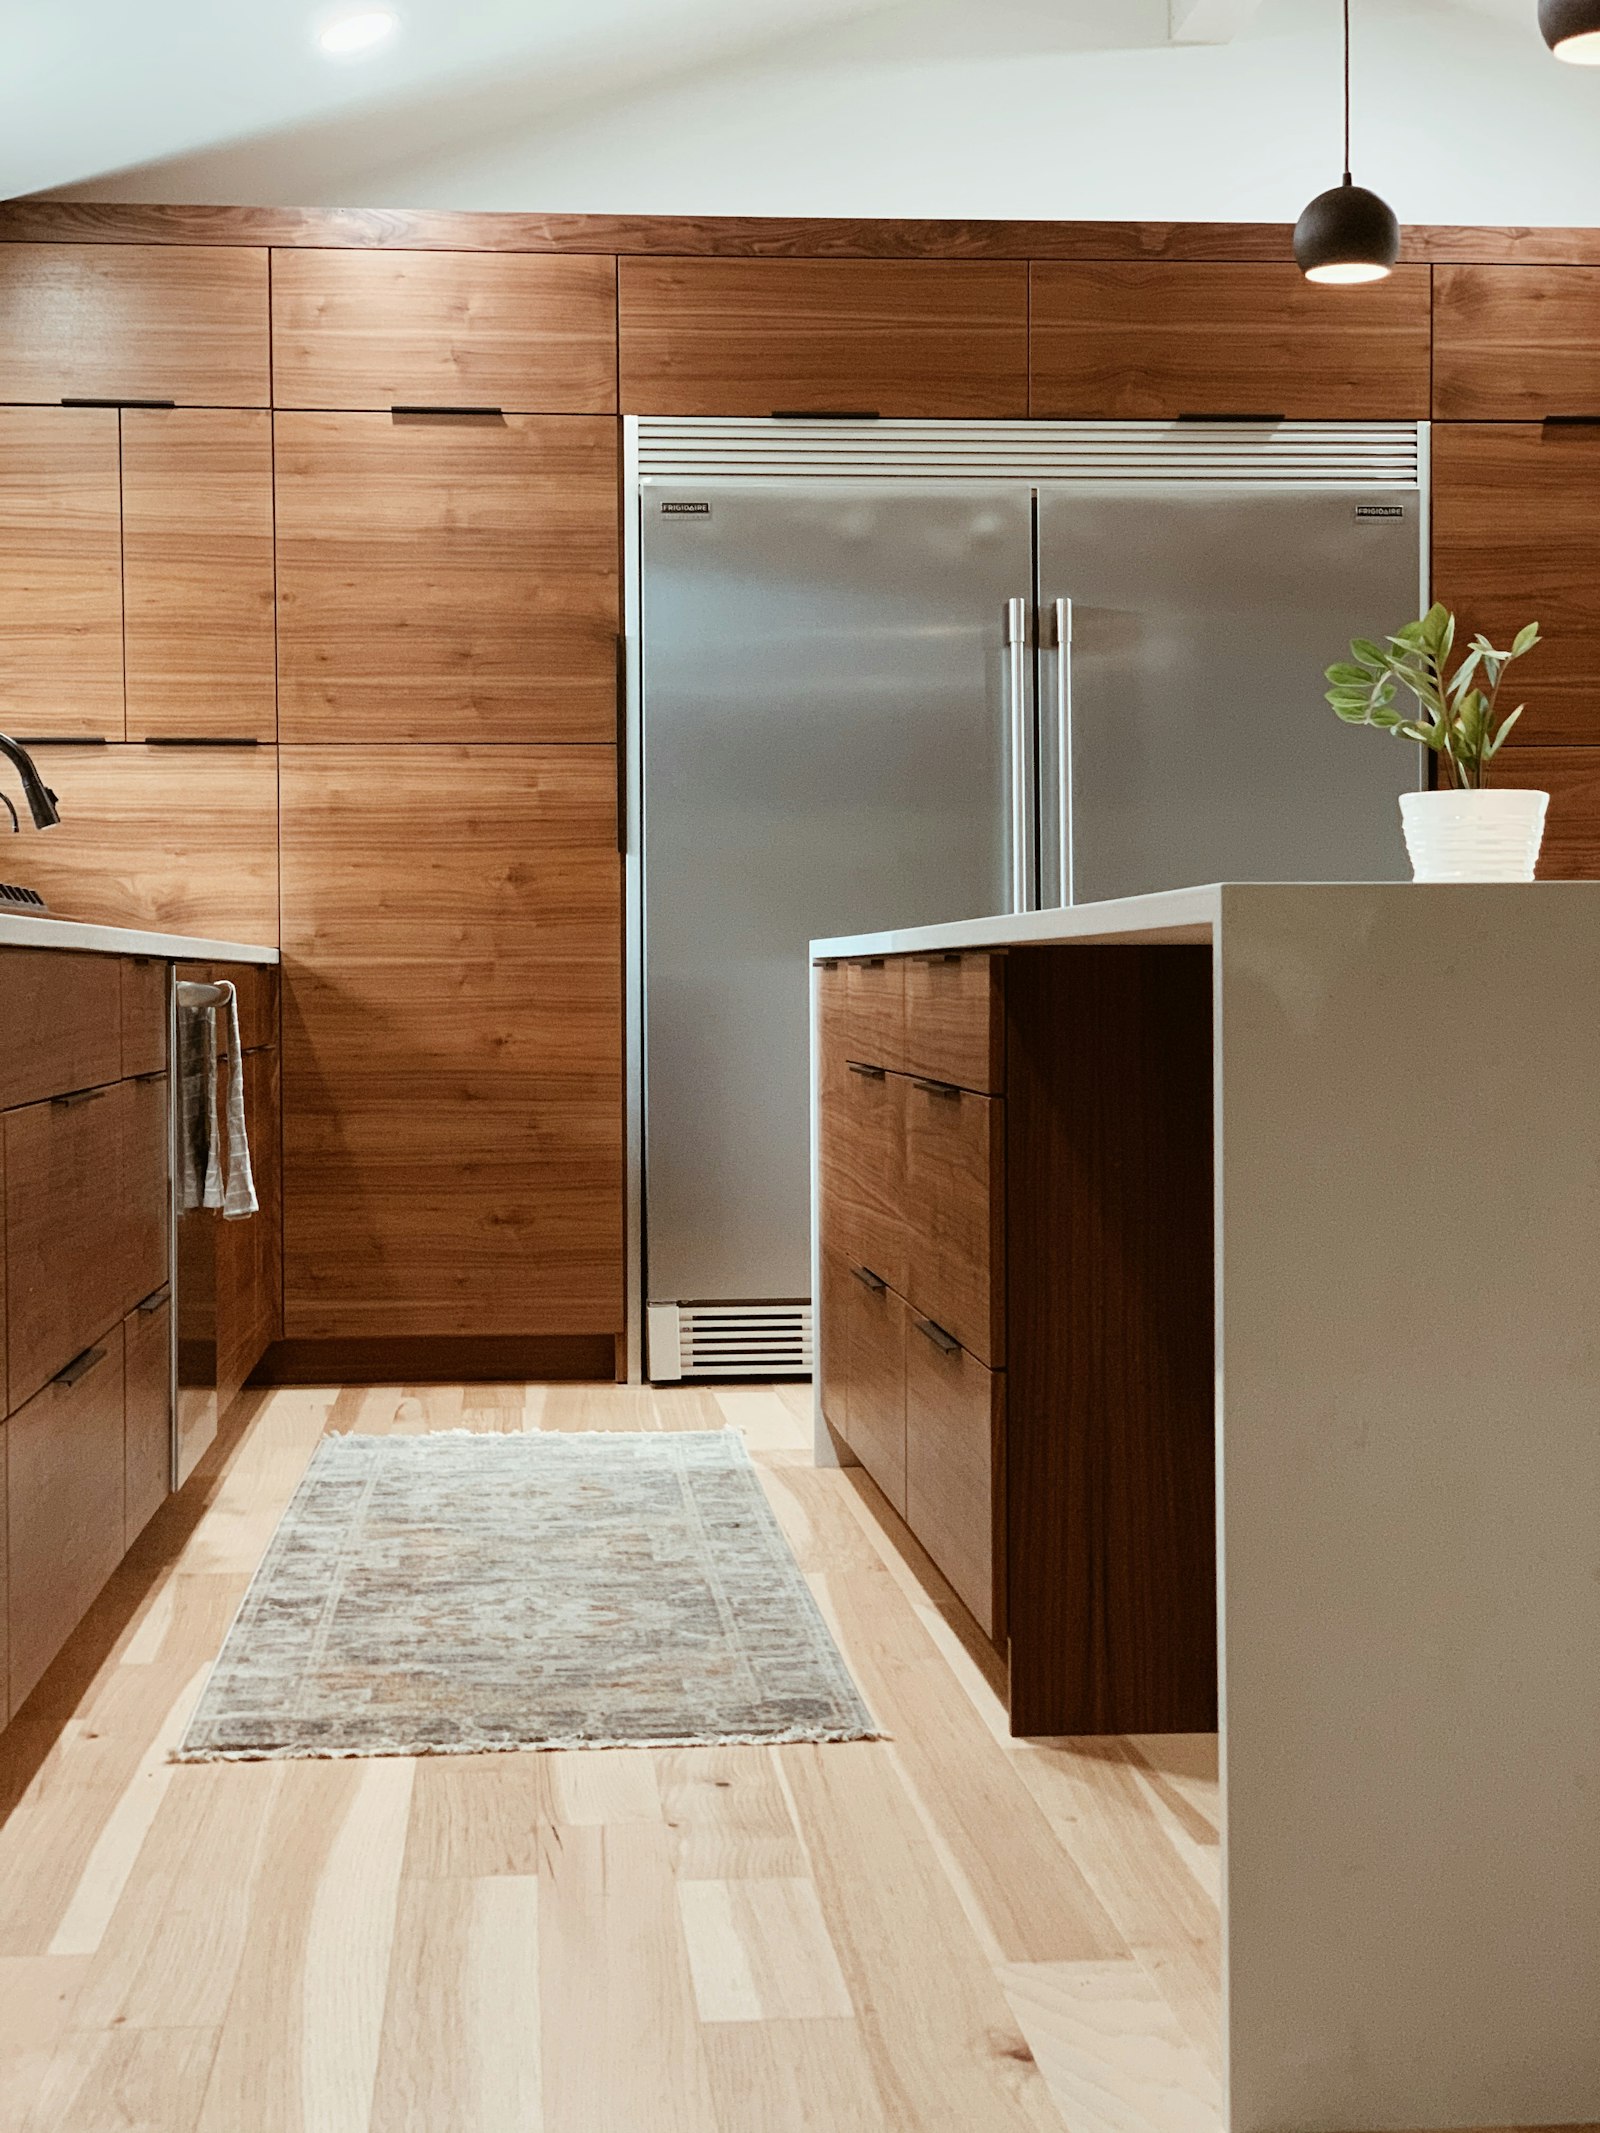
A kitchen is the hardest-working joinery in any home. Steam, water, heat and daily cleaning test every panel and every edge. This checklist is the one we would use on our own projects.
1. Split the grades
Specify carcasses in BWR and anything under or around the sink in BWP. Tall units near the hob deserve BWR at minimum.
2. Choose thickness for the span
Carcass sides and shelves carry real loads. Choose thickness for the longest unsupported span, not by habit — and use block board where long shelves must stay flat.
3. Seal every cut edge
Moisture enters plywood through exposed edges first. Edge-band every visible edge and seal hidden cut edges, especially around sink cut-outs and hinge holes.
4. Ventilate the sink unit
Closed, unventilated sink cabinets trap humidity. A ventilated plinth or back panel keeps the BWP doing its job for longer.
5. Specify the shutters separately
Shutters see the most handling. Decide their finish — laminate, veneer or paint — and back them with a balancing layer so they stay flat.
6. Protect the plinth
Floors get mopped. Raise carcasses on legs or protect the plinth so the bottom edge is never standing in water.
7. Put it in writing
Grade, thickness and manufacturer belong in the drawing set. Copy-ready specification text for every Duro product is on our Specify page.